


Proper preparation, including thorough cleaning and damage assessment, is crucial for sound deadening restoration. Select high-quality automotive mats, tools, and protective gear. Apply and install materials after cleaning surfaces, cutting to fit contours, and using adhesive. This meticulous process ensures effective noise reduction in collision repair for classic cars or Mercedes Benz.
Revamp your vehicle’s interior with our comprehensive guide to automotive sound deadening restoration. Learn how to transform your car from a noisy maze into a serene sanctuary on wheels. This step-by-step process covers everything from preparing your vehicle and selecting the right materials to expert application techniques. Achieve optimal results, reduce noise, and enhance your driving experience with this effective sound deadening solution.
- Prepare Your Vehicle for Sound Deadening
- Choose the Right Materials and Tools
- Apply and Install Sound Deadening Effectively
Prepare Your Vehicle for Sound Deadening
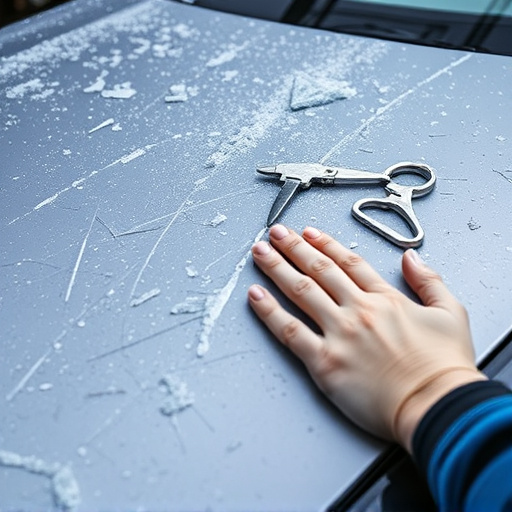
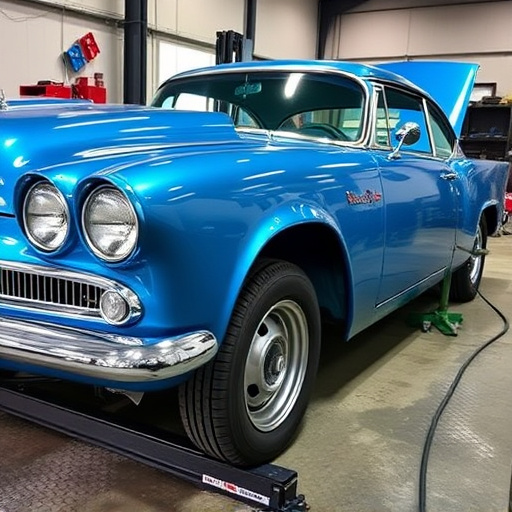
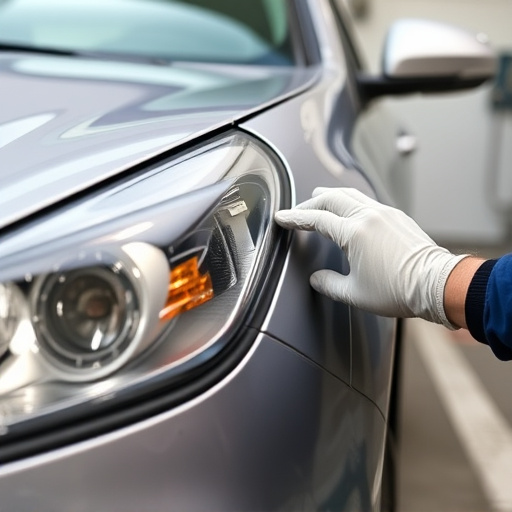
Before you begin any sound deadening restoration work, it’s crucial to prepare your vehicle properly. Start by thoroughly cleaning the interior and exterior surfaces to ensure optimal adhesion for the sound-dampening materials. Remove all loose debris, dust, and grime using dedicated car washing and detailing products. For a classic car restoration or Mercedes Benz collision repair, this step is even more vital as it protects the intricate details and finishes of your vehicle.
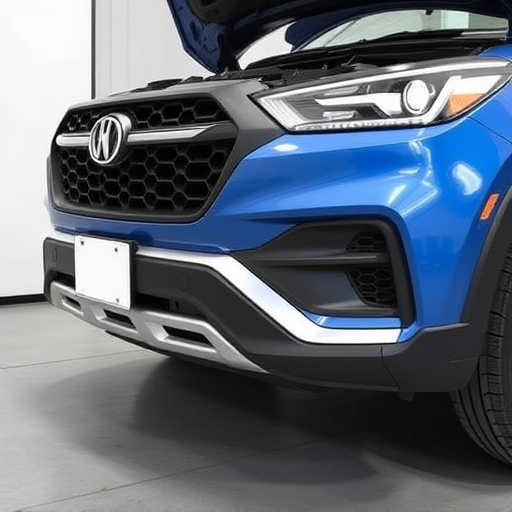
Once cleaning is complete, inspect your car for any damage or existing sound deadening issues. Repair or replace any torn or missing panels, ensuring a smooth surface for application. Consider the type of sound deadening products suitable for your vehicle’s make and model, whether it’s for a modern ride or a vintage classic. Professional automotive repair services can guide you in selecting the best materials for effective sound deadening restoration.
Choose the Right Materials and Tools
When embarking on a sound deadening restoration project for your vehicle, selecting the appropriate materials and tools is paramount to achieving optimal results. The right choice ensures effective sound insulation and long-lasting protection against future noise issues. Look for high-quality sound deadening mats designed specifically for automotive applications; these are usually made from specialized foams or fibers that absorb sound waves efficiently.
Consider factors like thickness, density, and flexibility when choosing your materials. Tools required may include scissors or a utility knife for cutting the mats to size, along with applicators or brushes for adhering the mats to the car’s interior surfaces. Don’t forget protective gear such as gloves and safety glasses to safeguard against debris during the hail damage repair or dent removal process—ensuring a seamless and professional sound deadening restoration.
Apply and Install Sound Deadening Effectively
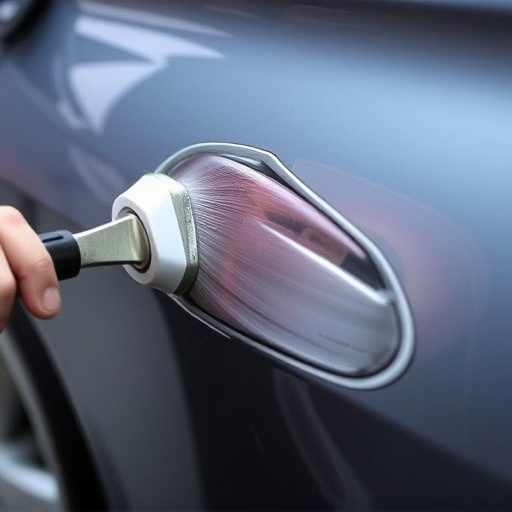
After preparing your vehicle for sound deadening restoration, it’s time to apply and install the sound-absorbing materials effectively. Start by cleaning the surface area thoroughly to ensure optimal adhesion. Use a de-greaser or cleaner designed for automotive applications to remove any oil, grease, or dust residue. This step is crucial as it guarantees that your sound deadening will adhere seamlessly, enhancing its effectiveness.
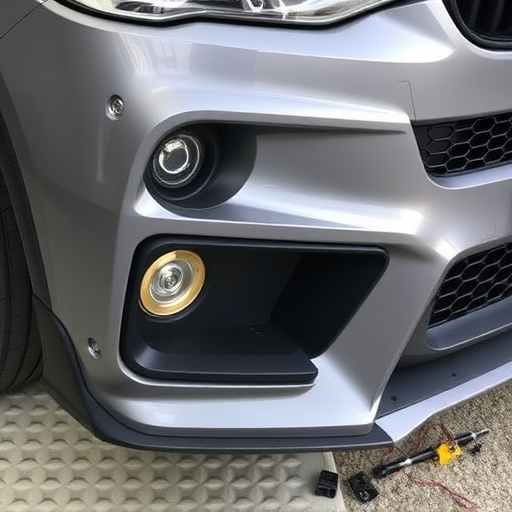
Cut the sound deadening material to fit your vehicle’s unique contours and shapes, taking into account every nook and cranny. From the doors to the trunk and even under the hood, ensure complete coverage. Use precision tools like scissors or a utility knife for accurate cuts. Once cut, apply a thin layer of adhesive suitable for automotive use along the edges and back of the material. Press it firmly in place, smoothing out any air bubbles or wrinkles with your hands or a rubber mallet. This meticulous approach ensures that your restoration not only silences noise but also preserves the vehicle’s aesthetics through seamless integration of the sound deadening materials, complementing your collision repair shop’s professional auto glass replacement and automotive body work services.
Restoring your vehicle’s sound deadening is a rewarding process that can significantly enhance driving comfort and vehicle performance. By following these steps and selecting the right materials, you can achieve optimal results in no time. Remember to prepare your car thoroughly, choose high-quality products, and ensure proper application for lasting effects. With dedication and the right tools, achieving an effective sound deadening restoration is within reach, allowing you to enjoy a quieter, more refined driving experience.