


Before starting a sound deadening restoration, assess wear and tear, research materials (acoustic foam, insulation, panels), plan project scope, prepare vehicle surface with wash, dry, repair paint damage, apply primer. Install right sound-absorbing materials like foam, fiber glass or specialized acoustic panels for minimal noise levels, enhancing passenger comfort.
“Transform your vehicle’s audio experience with our comprehensive guide to automotive sound deadening restoration. Discover how easy it is to enhance your car’s interior comfort and silence. This step-by-step process covers everything from assessing your project needs to optimizing sound absorbing materials. Learn how to prepare and protect your vehicle surface, ensuring a long-lasting, quieter ride. By following these simple yet effective steps, you’ll unlock the secrets to achieving optimal sound deadening restoration.”
- Assess and Plan Your Sound Deadening Project
- Prepare and Protect Your Vehicle Surface
- Install and Optimize Sound Absorbing Materials
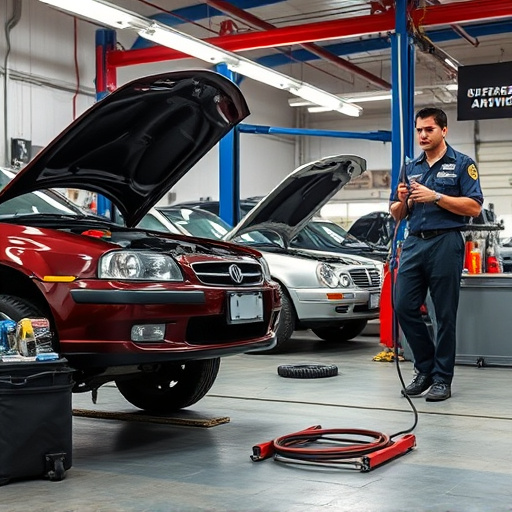
Assess and Plan Your Sound Deadening Project
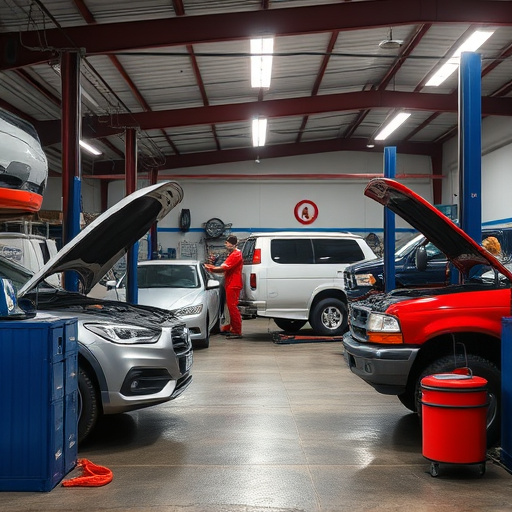
Before diving into your sound deadening restoration project, take a moment to assess and plan. Start by evaluating the current state of your vehicle’s interior and exterior. Look for signs of wear and tear, especially in areas prone to noise transmission like doors, floors, and dashboards. Consider any specific issues like hail damage repair or auto glass repair that might impact your sound deadening efforts.
Next, plan your project meticulously. Research the various materials used in sound deadening restoration, such as acoustic foam, insulation, and specialized sound-absorbing panels. Decide on the scope of your project: will you focus on a single area or the entire vehicle? Gather the necessary tools and materials, ensuring compatibility with your automotive repair services. Proper planning will not only enhance the effectiveness of your sound deadening restoration but also streamline the process.
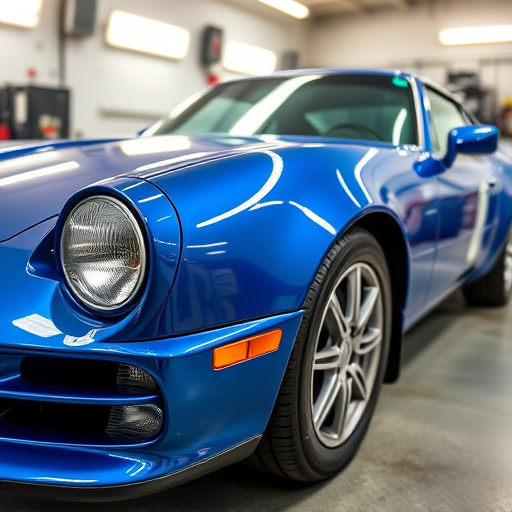
Prepare and Protect Your Vehicle Surface
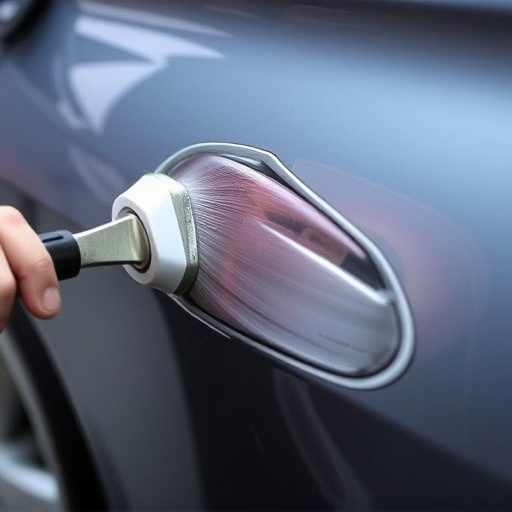
Before diving into the sound deadening process, it’s crucial to prepare and protect your vehicle’s surface to ensure optimal results and longevity. Begin by thoroughly washing and drying the car to remove any dirt, grime, or debris that could interfere with adhesion. This step is vital for a successful sound deadening restoration.
Inspect the paintwork carefully, addressing any scratches, chips, or signs of wear using appropriate car paint services. Repairs at this stage prevent issues later on, as collision damage repair can affect the final soundproofing effectiveness. Once satisfied with the surface preparation, apply a high-quality primer designed for sound deadening restoration. This protective layer not only enhances adhesion but also adds an extra barrier against future damage during the sound deadening application process.
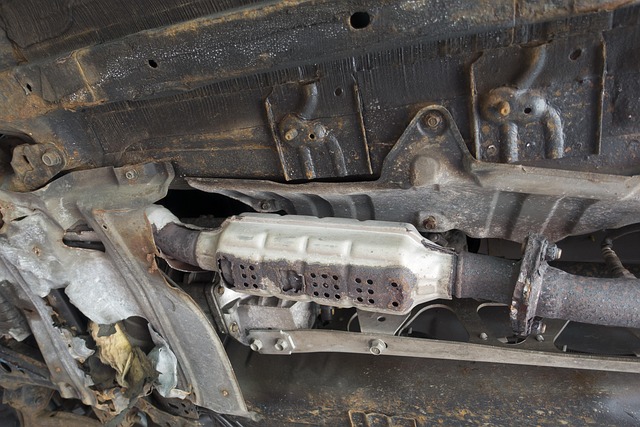
Install and Optimize Sound Absorbing Materials
When carrying out a sound deadening restoration, installing and optimizing sound absorbing materials is a crucial step. These materials play a vital role in minimizing noise levels within your vehicle, enhancing both passenger comfort and overall driving experience. The first step involves selecting the right type of sound deadener for your automotive repair needs. Options include foam, fiber glass, or specialized acoustic panels designed to absorb mid to high-frequency sounds effectively.
Proper installation is key; ensure a seamless fit by carefully measuring the areas to be treated. In automotive collision repair or car paint repair scenarios, it’s important to address all gaps and contours for optimal sound deadening results. Once installed, these materials should be optimized for maximum efficiency. This might involve cutting them to size, sealing edges, or using additional adhesive for a secure fit, ensuring they don’t just sit on the surface but are fully integrated into the restoration process.
Restoring your vehicle’s sound deadening is not just about enhancing comfort, but also optimizing its performance. By carefully assessing, planning, preparing, and installing the right materials, you can significantly reduce noise levels and create a quieter, more enjoyable driving experience. Remember, proper sound deadening restoration isn’t a one-time fix; regular maintenance ensures sustained benefits. Embrace this DIY journey, and enjoy the serene serenity on every drive.